avatar photo

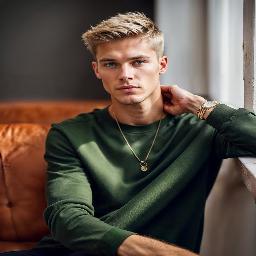
Advanced How To Tutorial

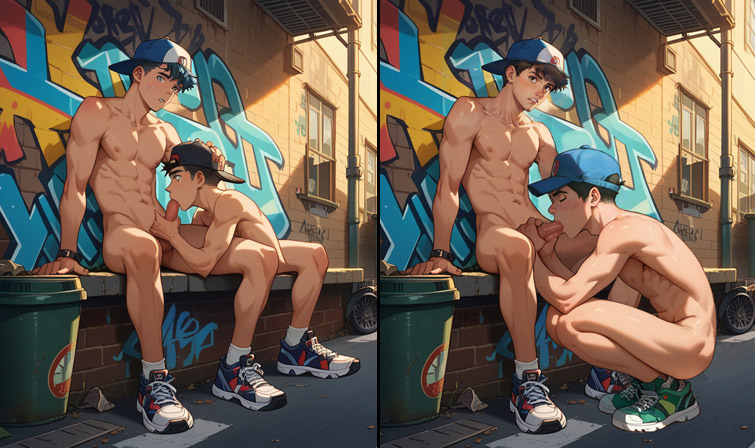
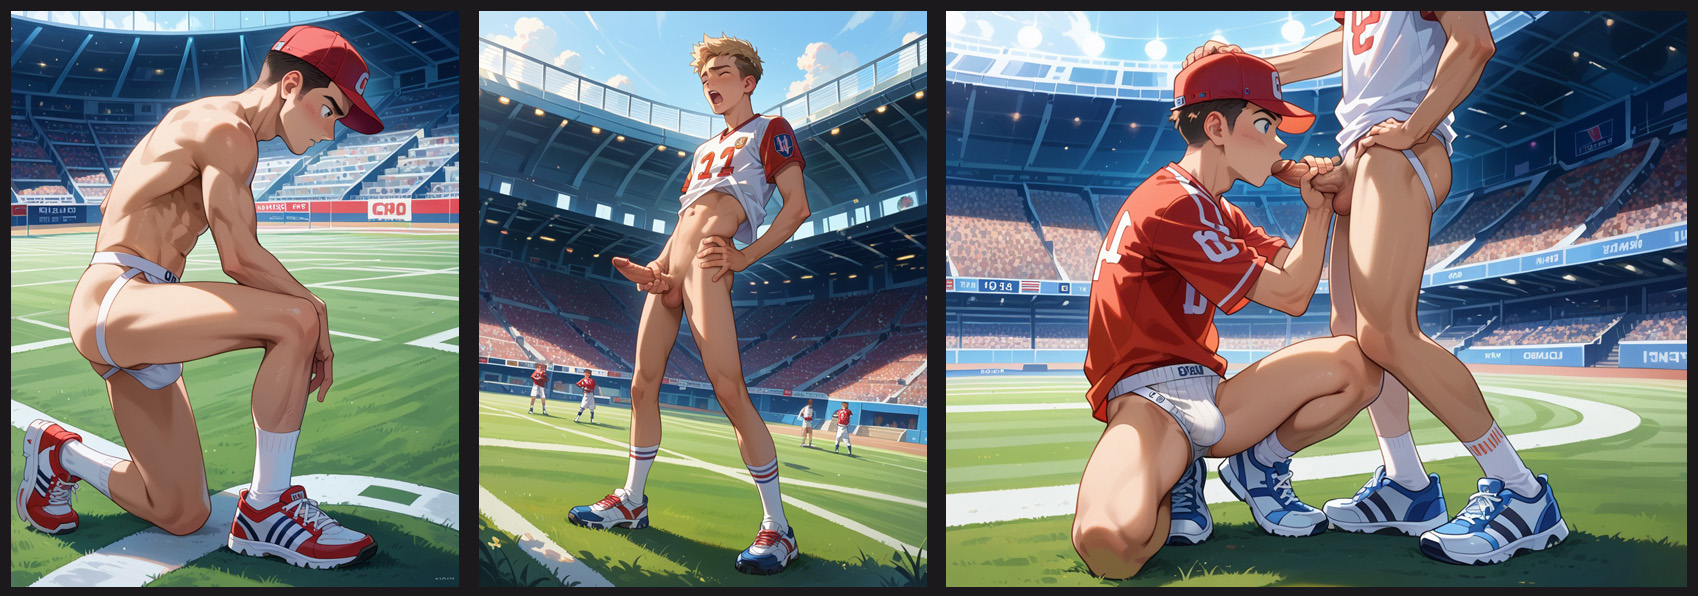
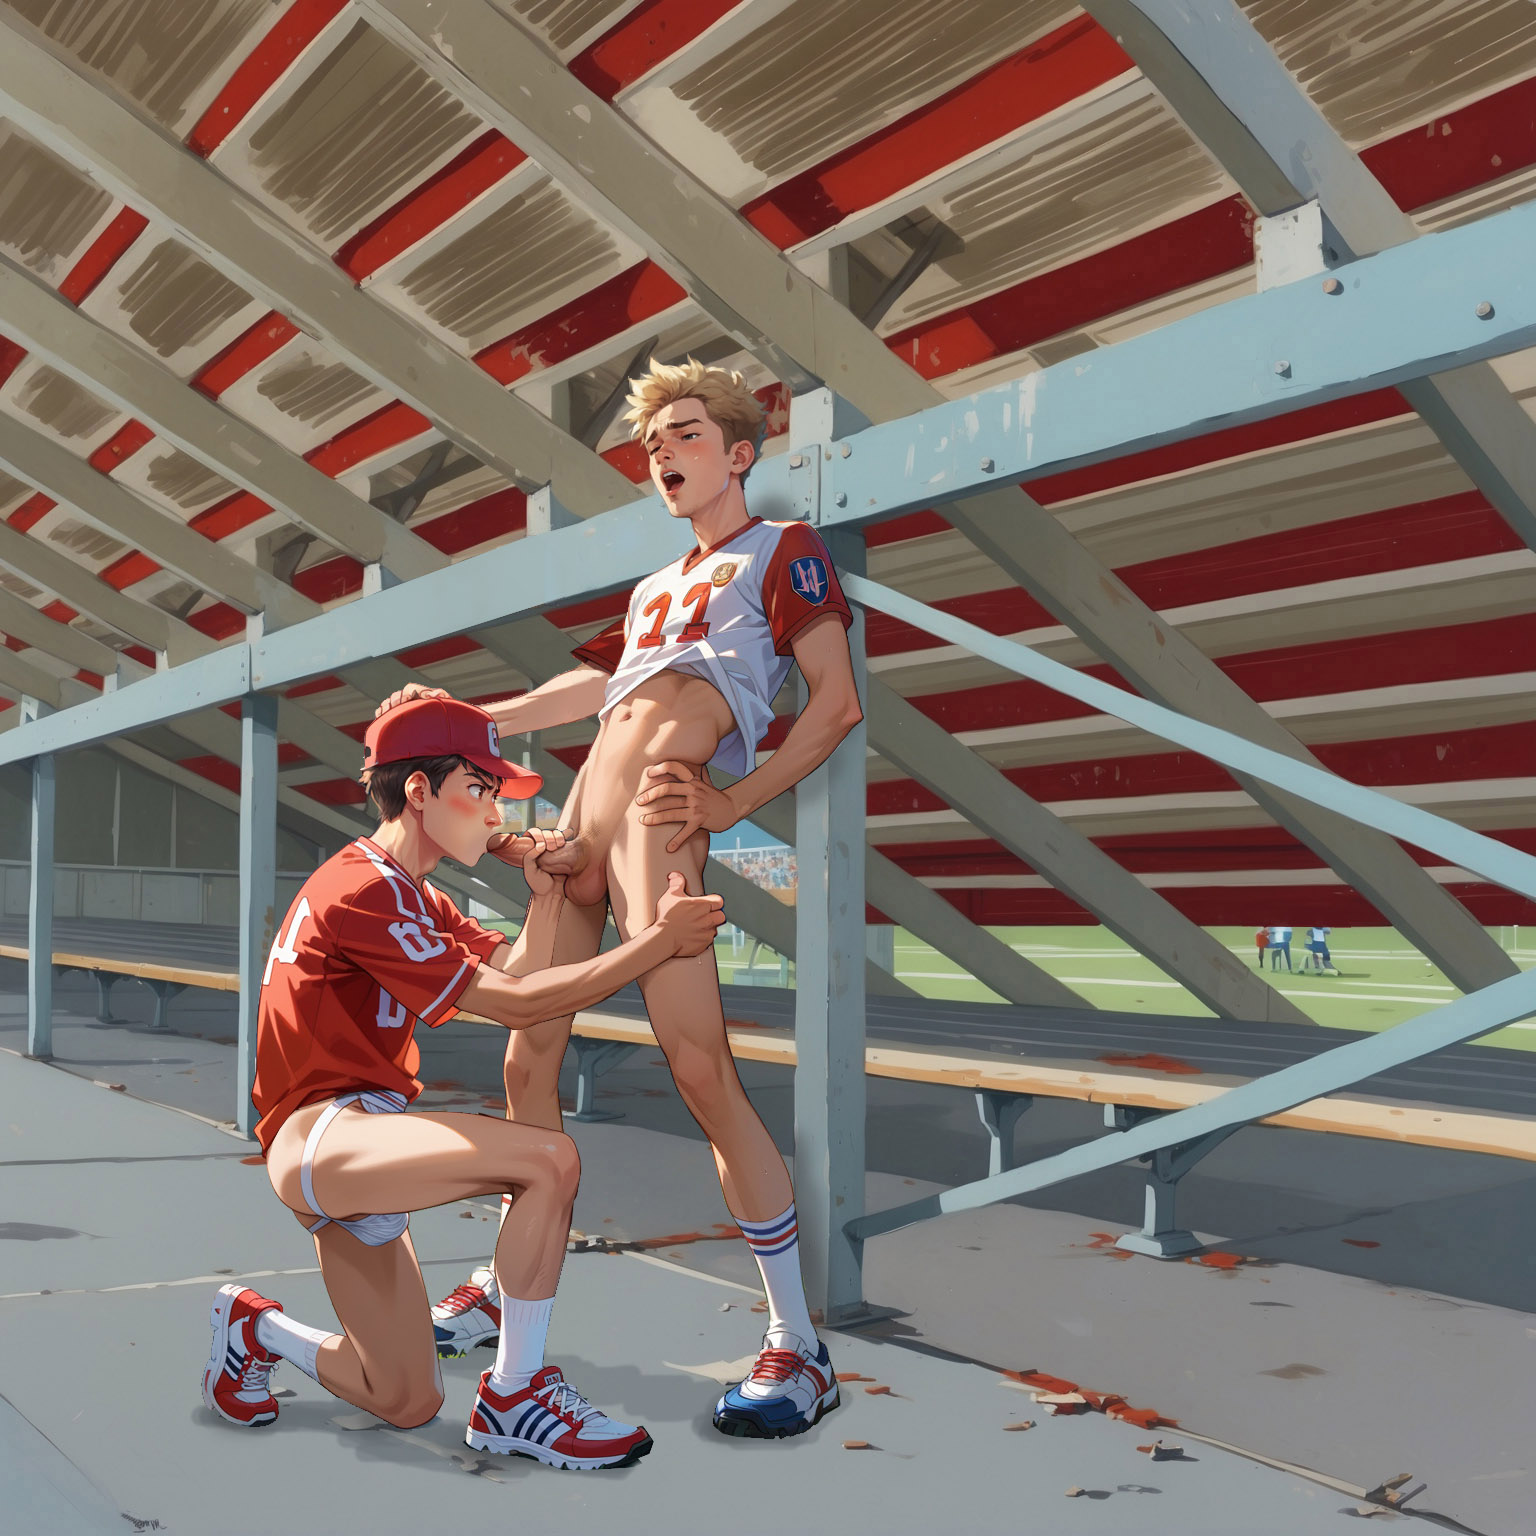
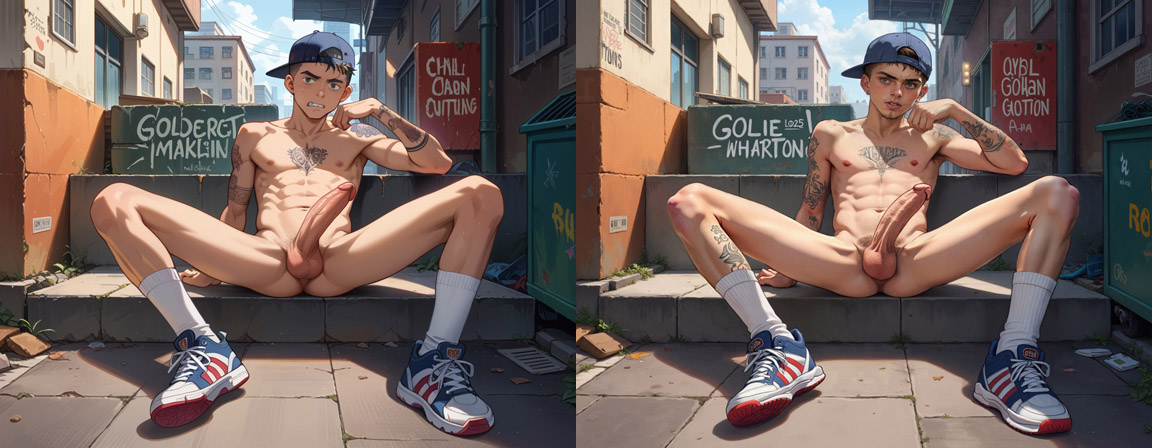
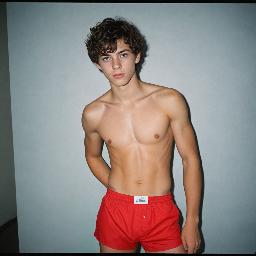
I've decided to post my process as I get many questions. This is very advanced stuff, but it included some tips the average user might want to apply to their process. Some of this is easier than it looks. So firstly, the AI generators often make mistakes. Many images have extra limbs or detached body parts. It is often easier to keep trying than to fix mistakes. About 2% of the images i generate are of a good enough quality to work with. Of all the others I cut and paste the bits i want to keep and frankenstein together a final result using Photoshop.The anime AI has far better understanding of anatomy and is great with dynamic poses. Where as the photo real AI has been largely trained on selfies and portraits, it struggles to do complex abstract actions like orgies. So I generate everything as a cartoon first and then use that as a reference image to help the photo real AI understand what I want.First I start by generating all the poses out separately. This isn't necessary but i do find it more efficient and gives me more control. Since I'm changing the backgrounds everything has to get cut out anyhow.


Some things the AI just doesn't understand. No amount of explanation helps. For example the underneath of a set of bleachers at a stadium. There just isn't enough trianable data out there for AI to figure that out. So I have to take a stock image and use AI to apply an anime style filter to it until I get a background that matches my characters.
Then i cut out and assemble everything in Photoshop.
Then I start increasing the resolution and photo quality. It isn't difficult. In fact it is possibly one of the easiest steps. I cut out a square around the faces. (always a square so I know the dimensions won't stretch or skew when I resize them) And I use other AI to help increase the level of detail since the anime AI here is too cute and cartoony at times.

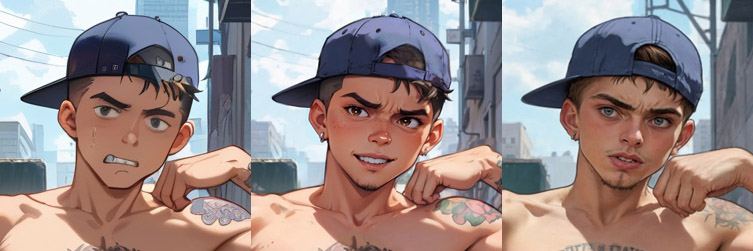
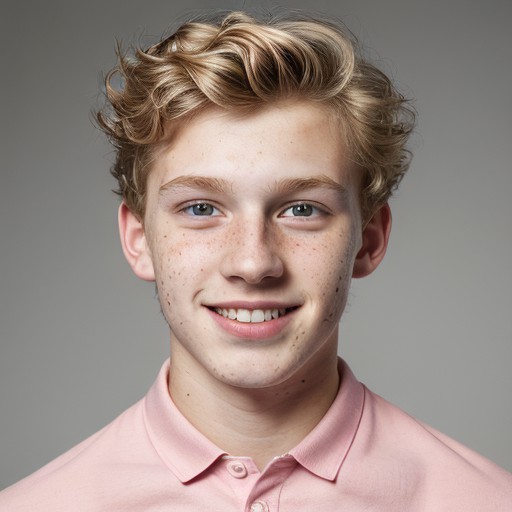
This can be a rabbit hole. I add in levels of detail gradually in 15% increments because if I try to leap all the way from my source image to photo real the computer will dramatically change the likeness. So I have to go in baby steps. I cut out the best pieces from my attempts and assemble a final result. taking the lips from one image and the eyes from another. Sometimes even painting out things I don't want and painting in the things I do want. For example, I often have to paint in the bridge of the nose since anime often don't draw noses.

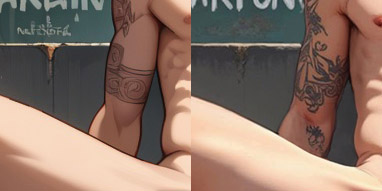
The AI often hits a roadblock when translating cartoons to photo real images. It wants to lean towards higher quality cartoons before making the leap into photo real quality. So I find it helps to remove the contour lines. Not all of them, but at least half of them. That's enough to encourage the AI to make the leap. In this case I had to hand paint out the outlines using the healing brush in Photoshop.

I always work in large formats. 2304 x 1792. The larger you work the more information the AI has to work with and the easier it is to hide mistakes later when you resize the image back down to a reasonable size.
Once I get my final high quality anime image done it is time to start making the image truly photo real. I keep the prompt strength low for this. Too high the image will completely change. Somewhere between 35%-45% seems to work well. The prompts are almost irrelevant at this stage. I sometime just type a very brief description of the image. In this particular example I swapped out the background plate and instead used the original stock photo of the bleachers. Introducing photo real quality assets to your composition helps the AI make the leap.
When that is done I then do this again taking my final image and using that to generate videos. Now I need to take my image and input that image into the video generator. Since outside links can't be used in the video generator I have to duplicate my image as an AI creation to add it to my twinkaboo creation list so that I can use that creation to generate the video. I turn the prompt strength completely off for this. However a detailed prompt description is still required at this stage because that description will help the AI when it comes to animating it. That way it knows what it is animating. And that is how I make my images. Any questions feel free to message me.

Check out my animated collections here:

https://twinkaboo.com/ai/collections/3ad79b02-8c86-44cf-aaa4-ebaab18ee4ab


rocketdoggo's avatar
estrar's avatar
TightStarfish's avatar
TLLB58's avatar
Liked by @rocketdoggo, @estrar and 2 others